
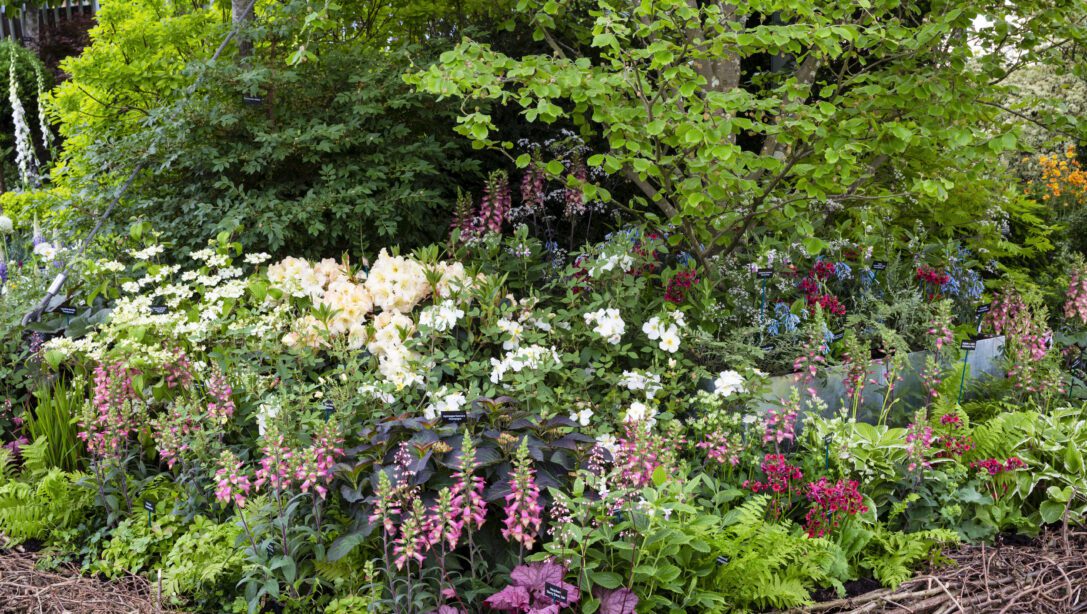
Designing a spring border can be a daunting process, but the perfect combination of colours, shapes, and touches can accumulate into the most spectacular display of gardening talent.
How to Plan a New Garden Border in Spring
If you are redesigning or taking the plunge with a border for the first time, it is worthwhile planning out the positioning of key elements of your design. This may include where you want to put any large, structural shrubs (consider how their positioning will affect light and shade across your border) and an overall awareness of colour schemes or flower appearance.
You might find through layout experimentation that there are alternative structures that you think work better, so it’s best not to commit before you are fully happy with the border form.
Spring borders work well and look stunning in spaces that have full sun and moist, well-drained soil. Dig some fish, blood, and bone fertiliser into your border to give your planting the best start, as it provides a rapid boost to your flowers.
Planning will ensure you are pleased with how everything works together before fully committing to your design. It’s better to take the time to plan than to begin planting or positioning your space, only to realise too late that it’s not how you wanted it.
Consider drawing out your space on graph paper and researching how large your plants may grow. This will help you when deciding what should go where.
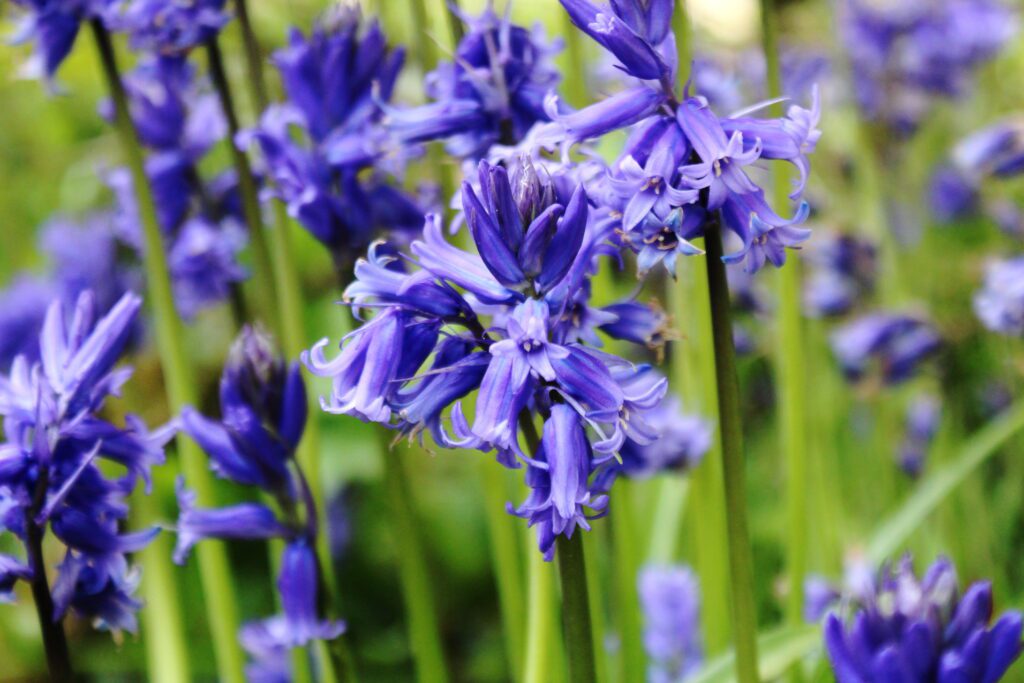
Planning for Shade
If you have an area of your border that may be in semi-shade, Bluebells and Astilbe are ideal woodland flowers that look great and will still flourish in these spaces. Aquilegias are also good for dappled shade, and Foxgloves (Digitalis) are great for deeper shade.
Hillier top tip: when planning your flower borders, place all your plants in their pots before digging the first hole. Placing all your new plants out like this allows you to consider the whole space and see how the plants work with each other. Consider the size each plant will grow to (the plant label will tell you this) and make sure to leave enough space for your planting to mature.
What to plant in the spring border
Allium
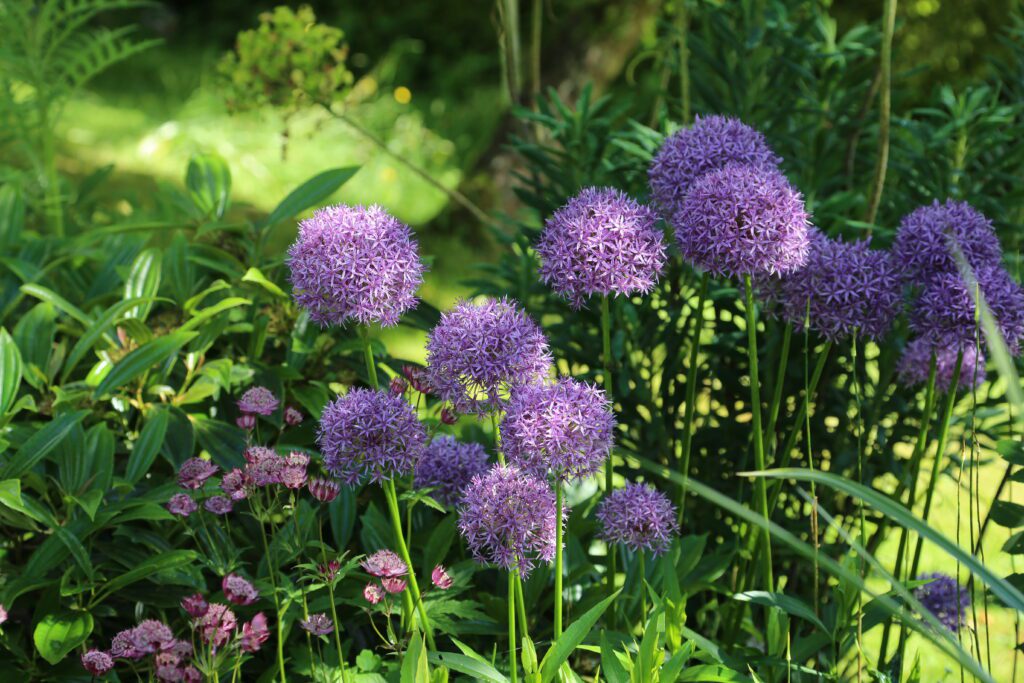
Alliums are a wonderful addition to a spring border. With their stunning purple colouration and tall stems, they help to draw the eye upwards, creating appeal at all levels.
Iris
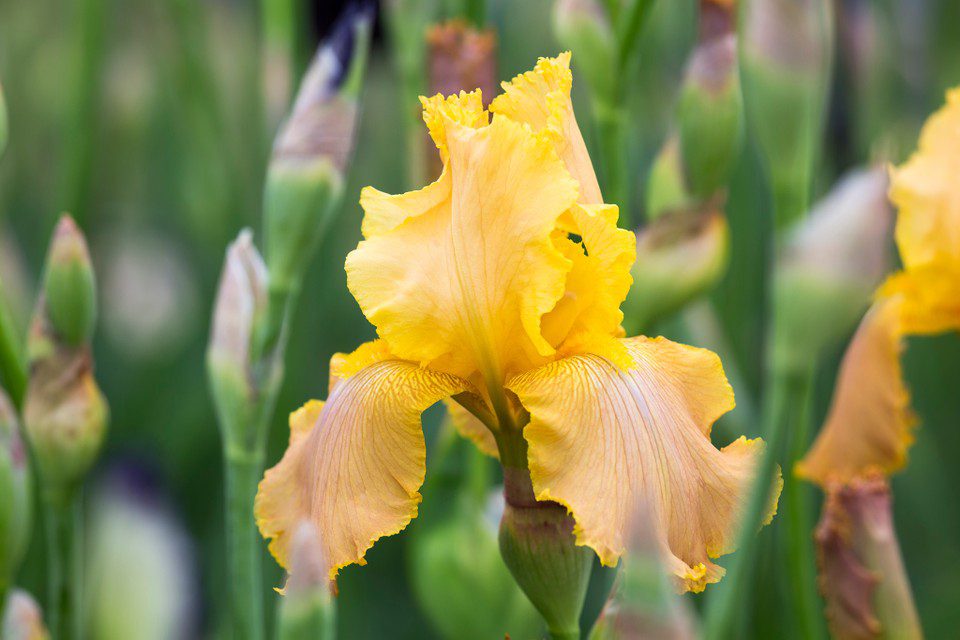
Irises work well in a spring border due to their height and shape, which enable sunlight to reach the flowers below. The unique shape adds attraction to the border, and the vast array of colours means they can suit every theme.
Cherry Trees
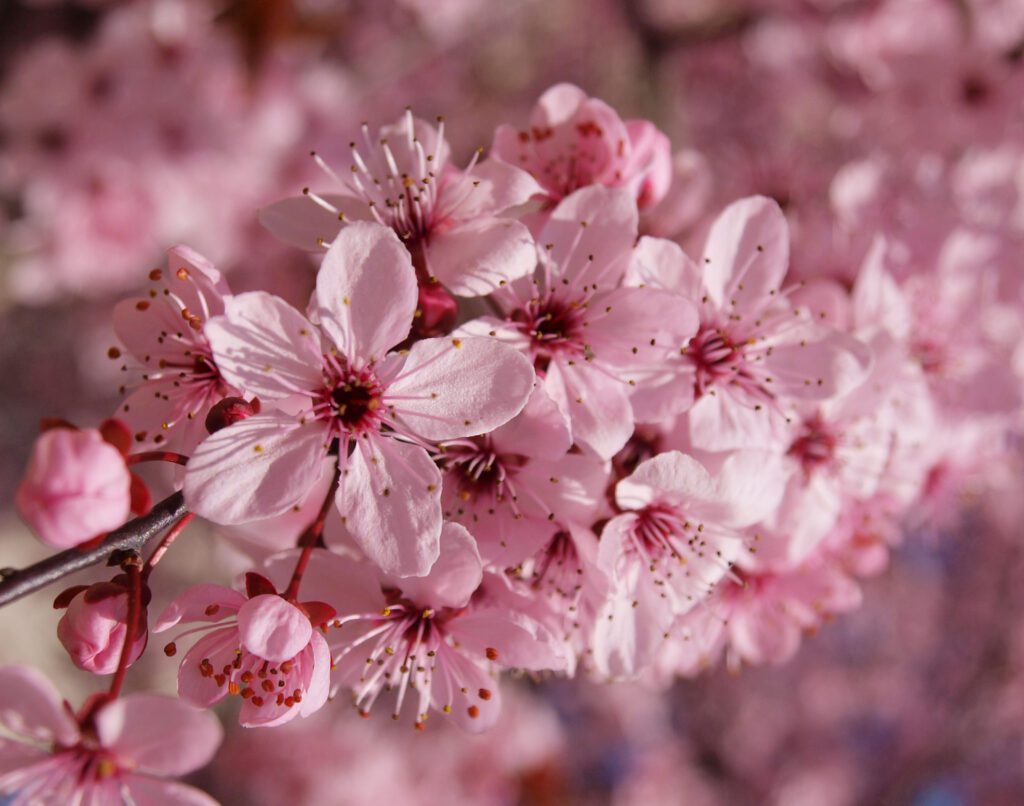
Cherry trees have charming, delicate flowers and stunning structures that will enhance any spring border. These graceful trees are also splendidly easy to grow!
Crocus
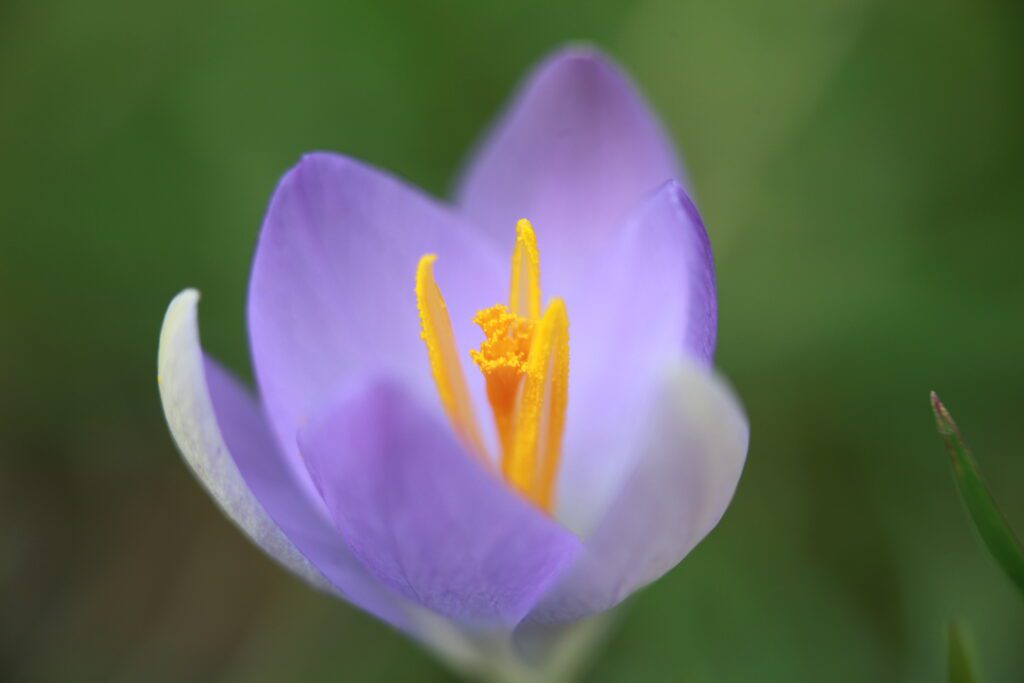
For a beautiful and subtle addition of early spring colour, the delicate Crocus is the epitome of spring border flowering.
Daffodils
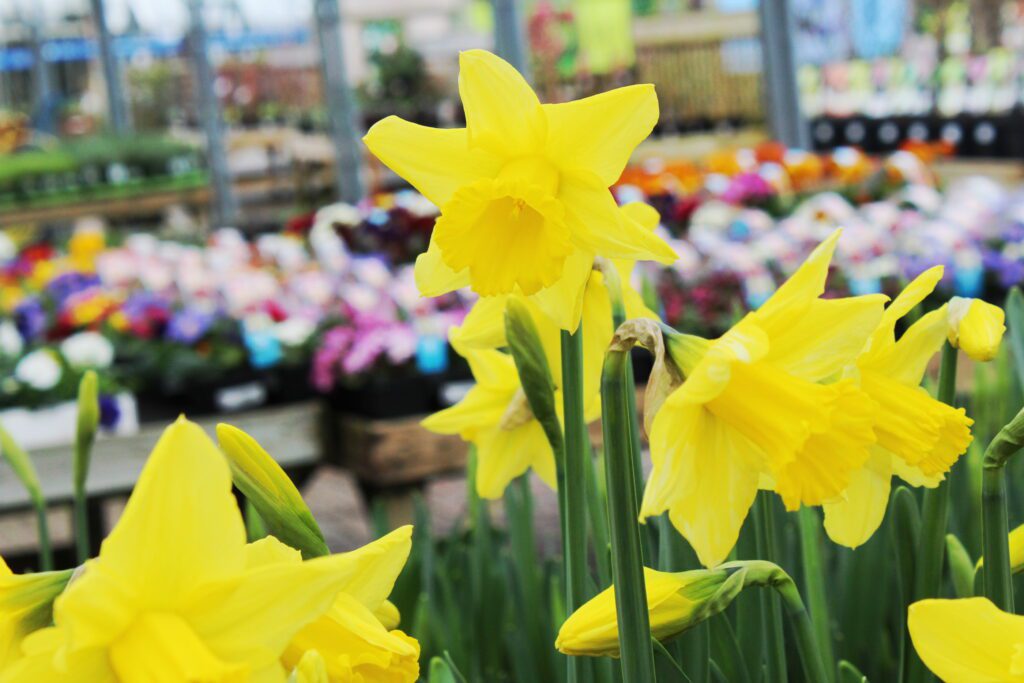
Nothing says spring border quite like the Daffodil. Stunning, vibrantly coloured and of striking form, they are easy to integrate into any spring border.
Primulas
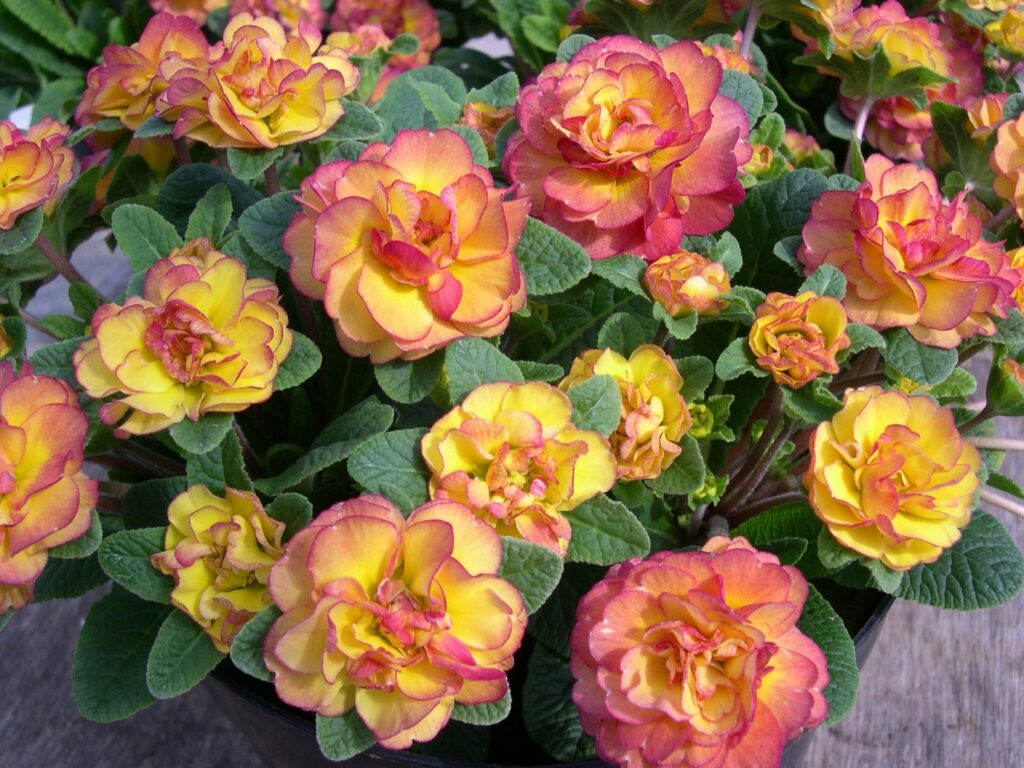
Primulas are wonderful when planted in a spring border, as they are available in a wide range of colours, have a fantastic fragrance, and form beautiful rosette shapes.
Ribes
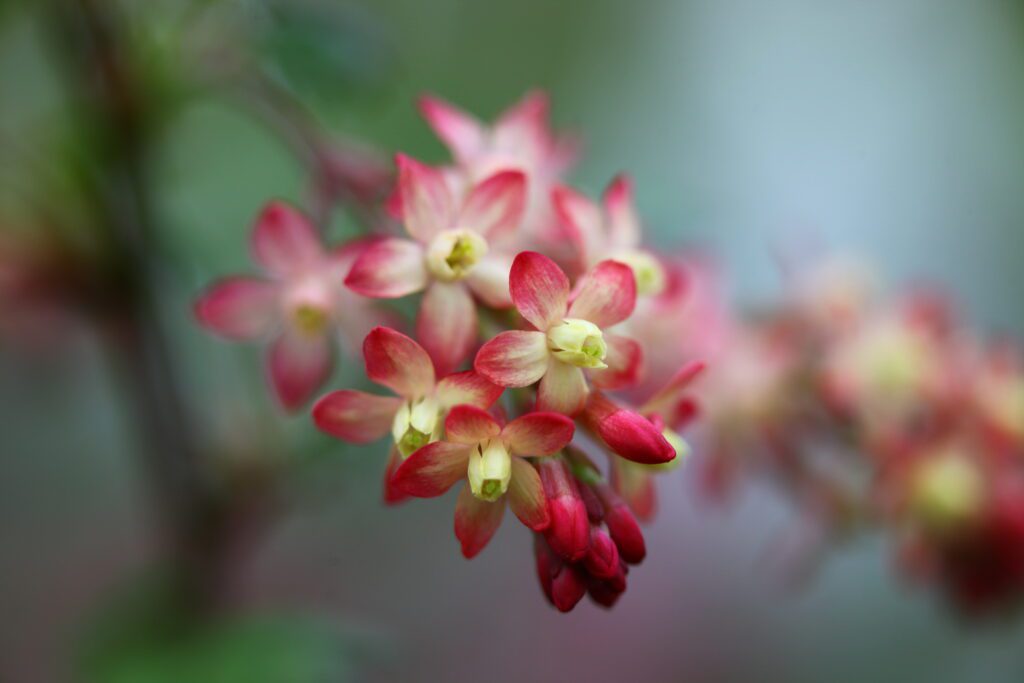
When planted in a spring border, ribes provide not only structure but also a valuable source of nectar for bees visiting your garden.
Cornus Kousa
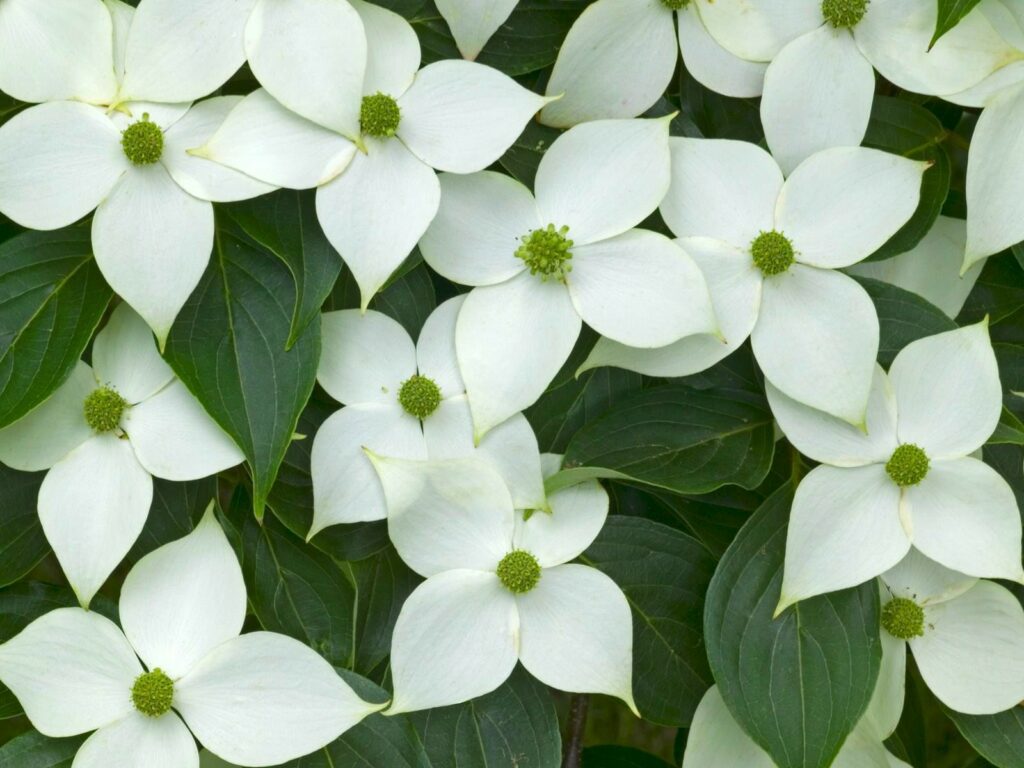
Giving shape to your border, Cornus kossa has delicate flowers and appealing dark foliage, making it an ideal backdrop for other flora.
View our collection of plantsTips for Planting Spring Bulbs in Borders
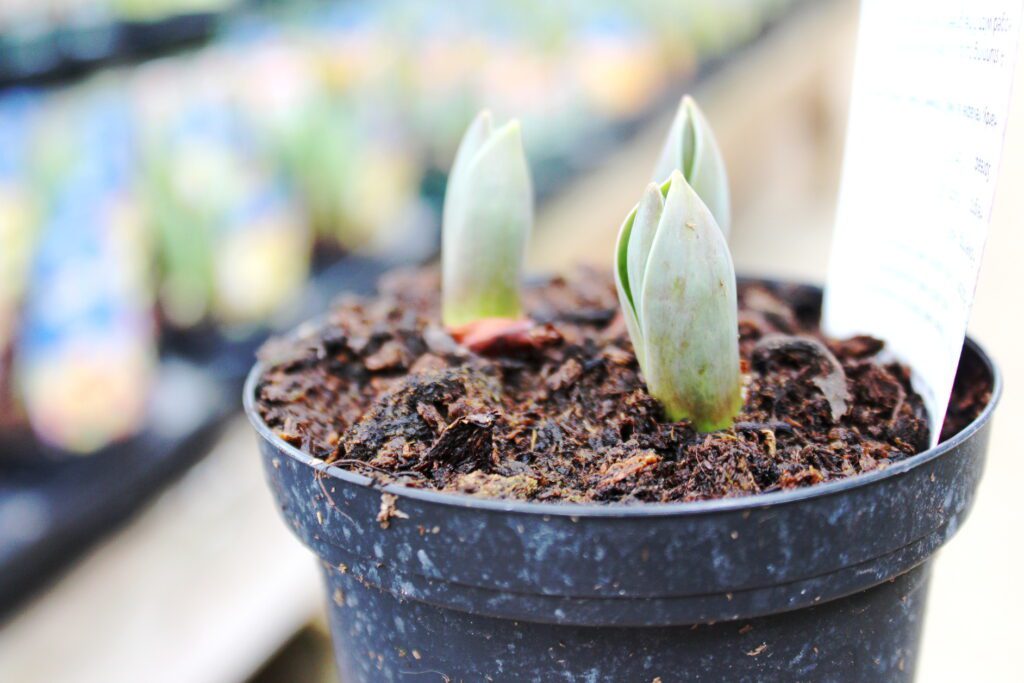
Most of your early spring colour will come from bulbs planted the previous autumn, but you can also buy potted bulbs already growing in early spring that will provide an immediate impact. They are also one of the easiest plants to grow while still offering that rewarding feeling.
Once purchased, plant as soon as possible to encourage maximum flowering and in clusters of six to create a wonderful, bursting display.
How to Plant Spring Bulbs:
- Dig a hole between 2 and 3 times the depth of the bulb.
- Place the bulbs with the shoot in an upward position.
- Use approximately two bulb widths of space to plant the bulbs apart.
- Fill with soil and firm with the back of the rake; go gently so not to damage the bulbs.
- Water immediately after planting.
Add To Wishlist
To save products, log in to your Gardening Club account or create a free account.
Login To Your Account