


Here are some helpful tips to make sure you get the best from your new plant(s).
Unpack & Water
Unpack your plant(s) as soon as possible and water in its pot – it will need more water than you think as it may be thirsty from its journey! Place the plant in a shady spot until you are ready to plant into its final position.
Priority Planting
Plant as soon as you can, whether you are re-potting into a larger pot or positioning it in your borders. The only time to avoid planting is when the ground is waterlogged or frozen.
When planting in the ground:
Step 1 – Dig a hole twice the size of the pot the plant is in.
Step 2 – Put a mixture of multi-purpose compost and the soil you just dug out in the bottom of the hole.
Step 3 – Position the plant so the top of the root ball is level with the top of the hole. Fill around with more compost / soil mixture and firm in. The root ball most be thoroughly covered and firmed in well to ensure there are no air pockets around the rootball, which may cause it to dry out.
Step 4 – Water the plant and surrounding area thoroughly. It may take more water than you think to soak down and water the whole root ball thoroughly rather than wetting the surface. You may want to also add a layer of mulch, such as bark, to help prevent water evaporation and stop weeds growing. Continue to water regularly while your plant establishes.
Enjoy your new plant(s)
View our collection of plantsHillier Nurseries are Growing Peat Free
Peat-free compost at our nurseries
At Hillier, we are proud to announce that we do not use any peat on our nurseries, and all of our plants are potted in peat-free growing media.
We carefully monitor all of our growing media on the nurseries by using probes and data loggers to record soil moisture content, temperature, and levels of feed. This enables us to ensure we give the plants exactly what they need at the right time. This means that when our plants reach the garden centres, they are in a beautiful and well-cared-for condition.
Our recommendations when using peat-free compost
When it comes to growing in peat-free compost, watering can be tricky, as the pots may appear dry when the root zone is still wet. This is because the top will dry out a lot faster than non-peat-free composts. To ensure that you don’t overwater or underwater, make sure that your plants get a thorough watering that soaks the entire root ball. After doing this, allow the plant to dry before watering it again. A larger pot often takes a lot more water to properly soak it through than we realise. A good idea is to aim for around 10% water of the whole pot volume (i.e., 1-litre of water for a 10-litre pot). When you are watering, take care not to overwater, as you can wash essential nutrients out of the compost that will help your plants thrive. If you are planting directly in a pot, ensure your plants are regularly fed, as the only nutrition they can receive is what you give them.
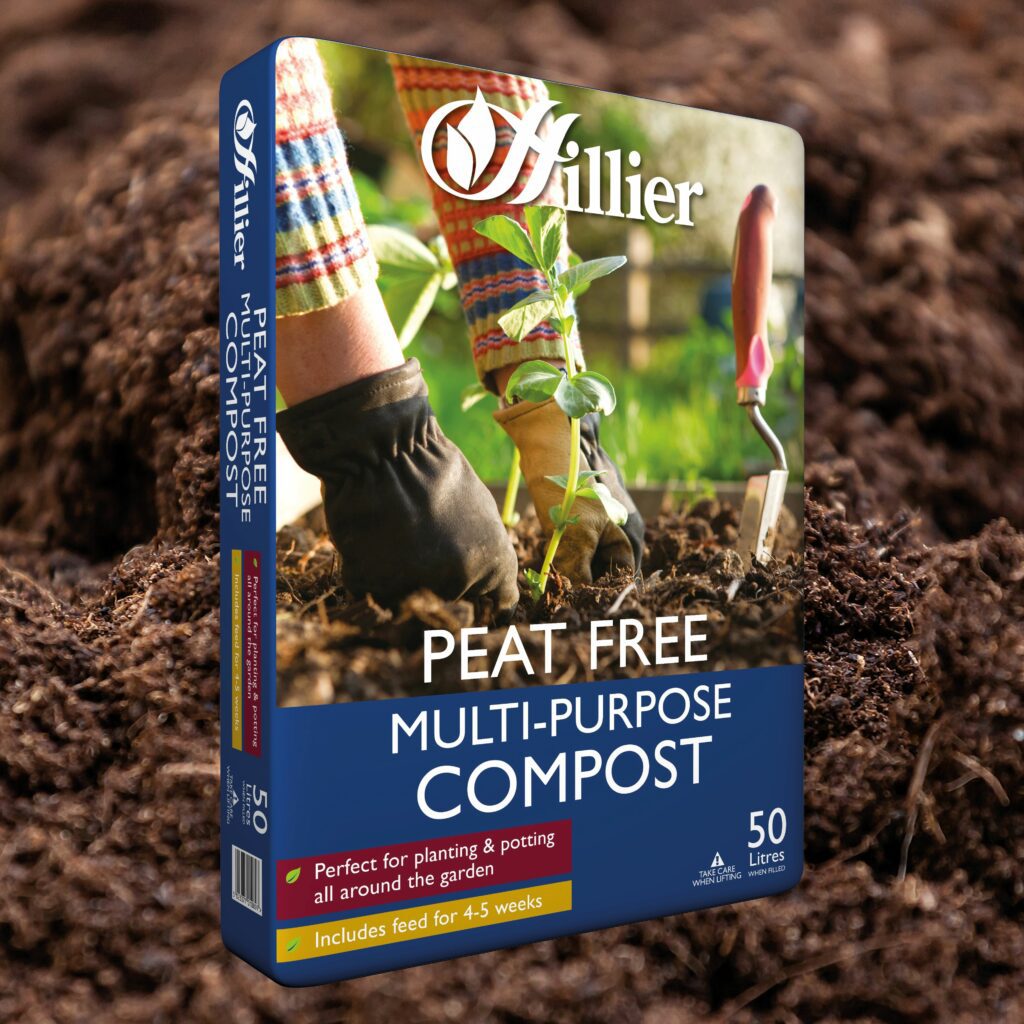
Discover our selection of peat free compost online.
Why use peat-free compost?
Peat-free composts are growing in popularity throughout gardens in the UK due to the heightened awareness around the extraction of peat from peatlands, which puts them at risk. For a renewable alternative, peat-free compost is a reliable and high-quality option for you plants. Peat-free compost is often made from resources like composted garden waste, bark, grit, or manure.
View our collection of compost